


 Reply With Quote
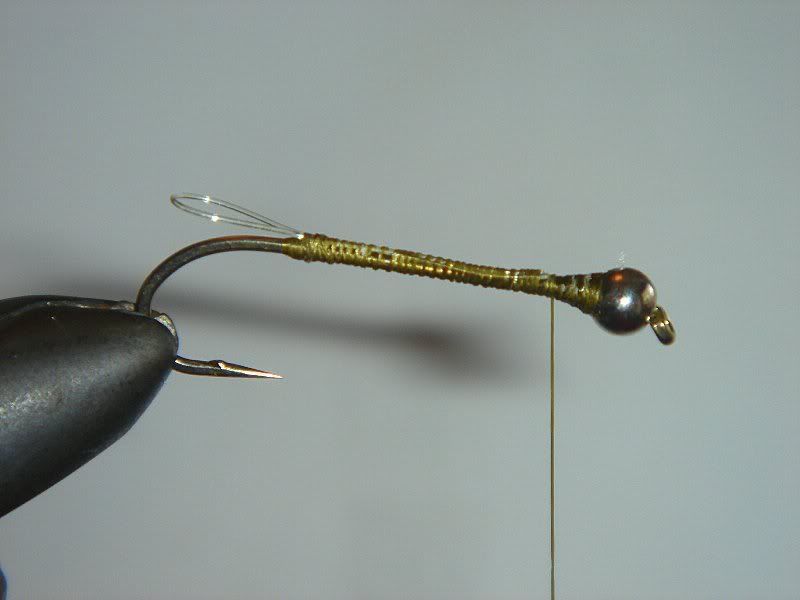
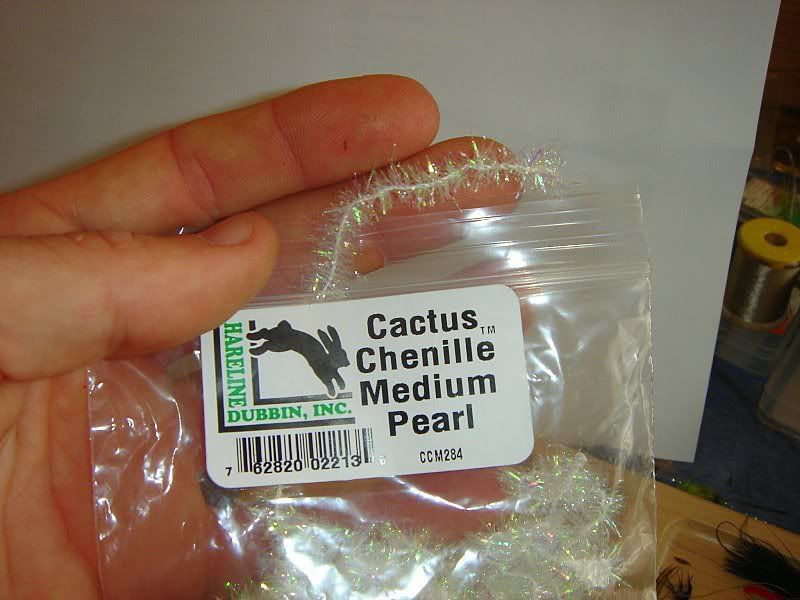
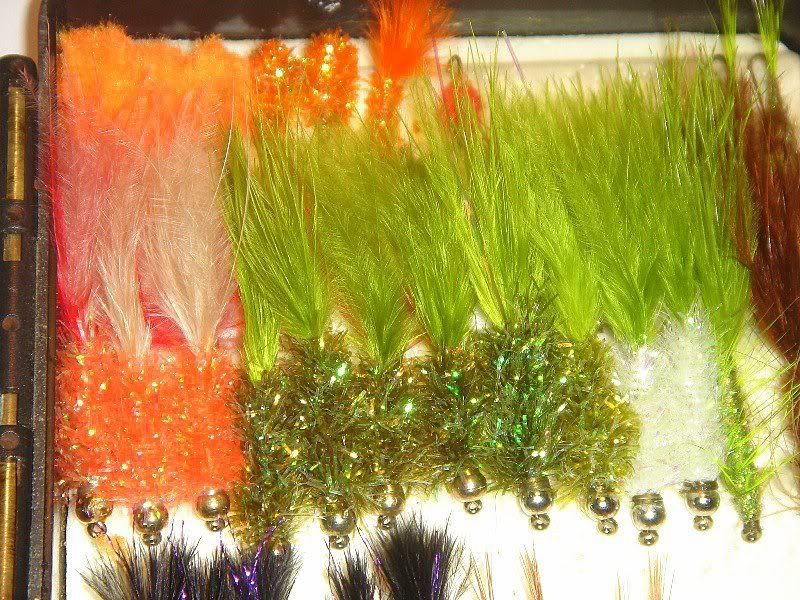
6. Select Cactus Chenille (Fritz) of choice colour. Medium is by far the best size. I am using pearl for this fly. I tie my bodies in a variety of colours including olive, root beer, orange, pink, and black.
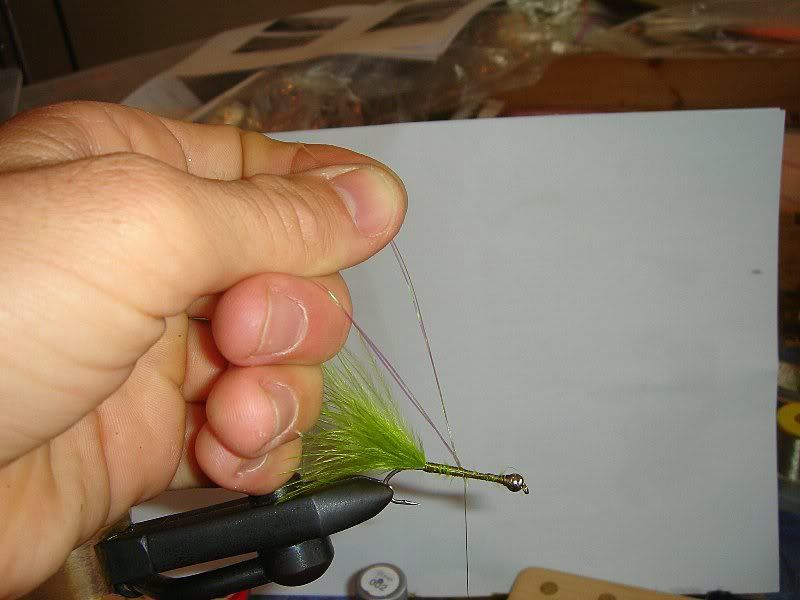
7. Strip some of the flashy fibres from the cactus chenille and tie in at the tail. Wind the thread forward to the bead.
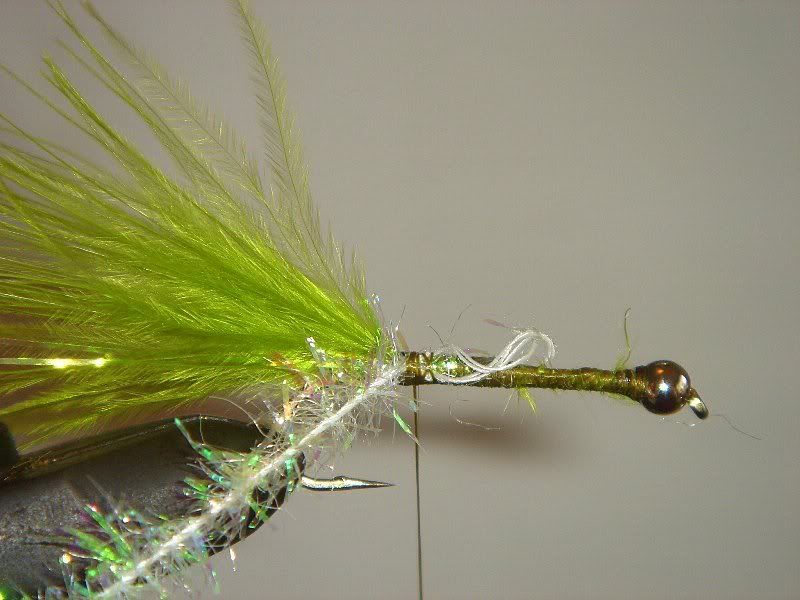
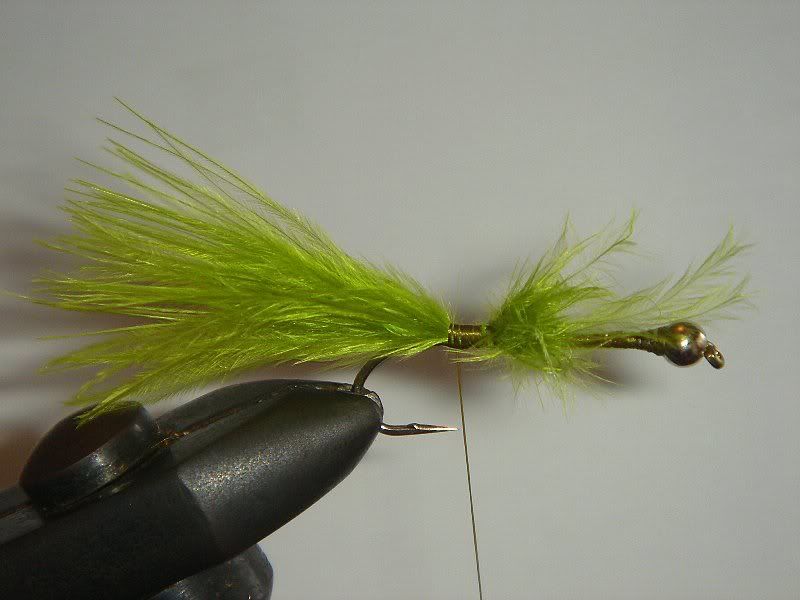
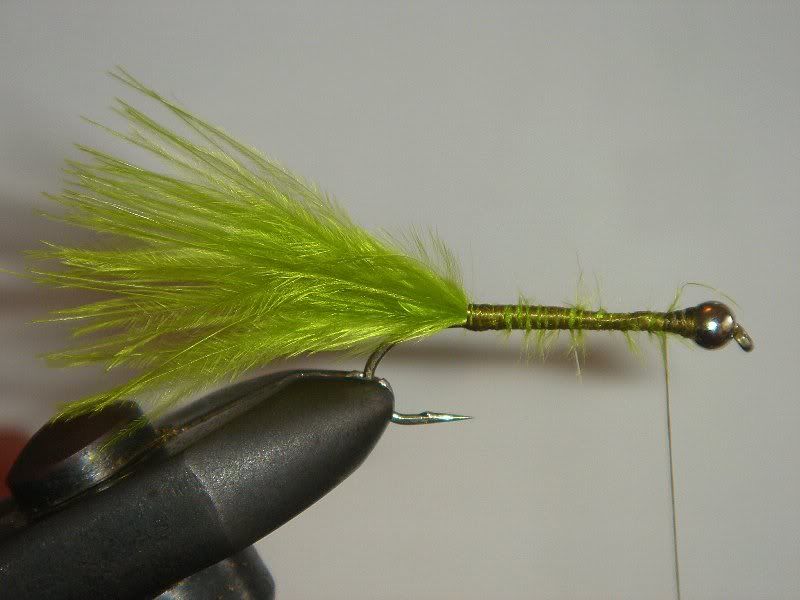
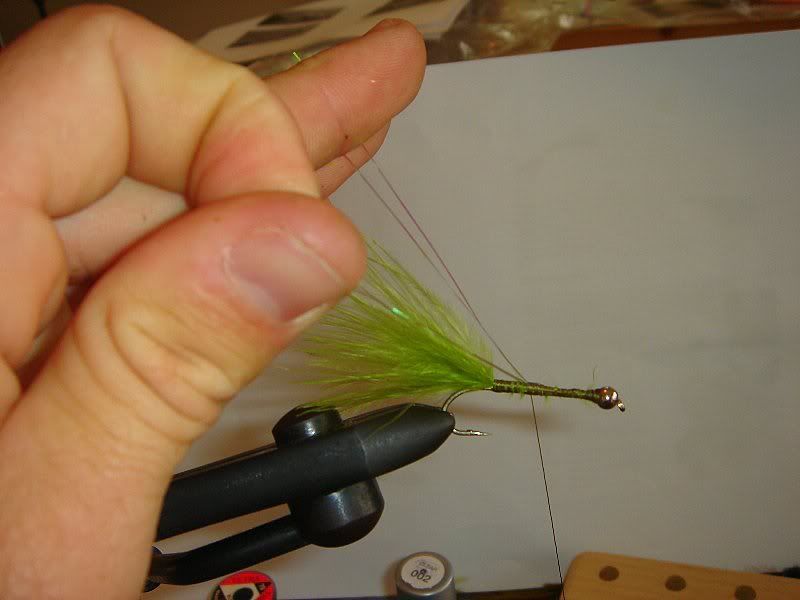
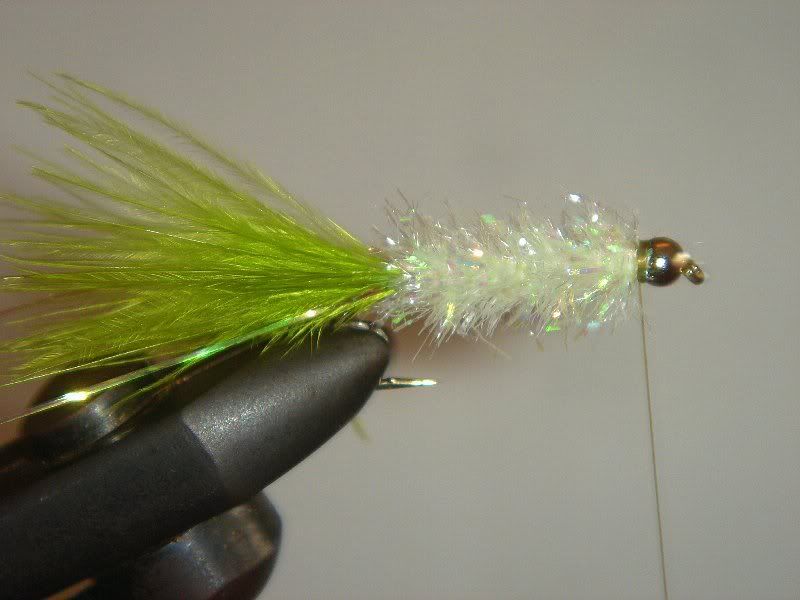
8. Wind the cactus chenille forward in touching turns, stroking the fibres back after each wrap. It is very important that you stroke the flashy fibres backwards otherwise they get trapped by the following wrap and make the body fat and uneven. Once you reach the head, tie off and whip finish. I personally don’t mind having the thread visible behind the bead and I take a few extra wraps to ensure the cactus chenille never comes out. Varnish head. I also like to trim the underside of the cactus chenille to ensure the maximun possible hook gap and increase the odds of a good hook-set.
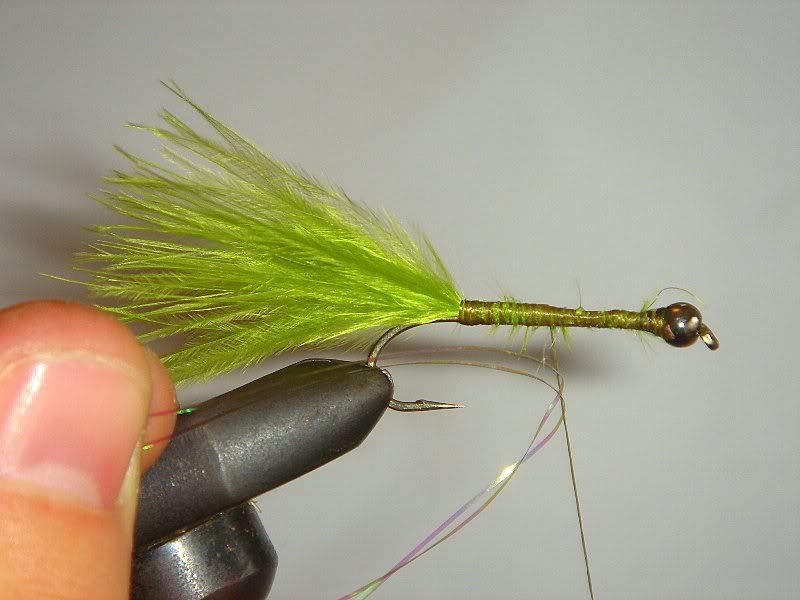
This pattern has proved itself over the last seven years and I never go on a fishing trip without a selection in my flybox. I have had remarkable success at Lakenvlei with this pattern fished on a floating line. Because there is no hackle, the pattern has a fast sink rate. You can fish it “static” or with a jerky strip retrieve. To get the most out of this pattern, it should be attached to your leader with a non-slip mono loop (link to the knot on main page http://www.flytalk.co.za/readArticle.php?p_id=28). On a jerky strip retrieve, the combination of a long soft tail, no hackle and the bead (weight) in the front ensures that the fly has a jigging action and the tail “kicks” irresistibly. Combined with the flashy body, these triggers make this an irresistible attractor pattern.
Some more pics:
One of my boxes....
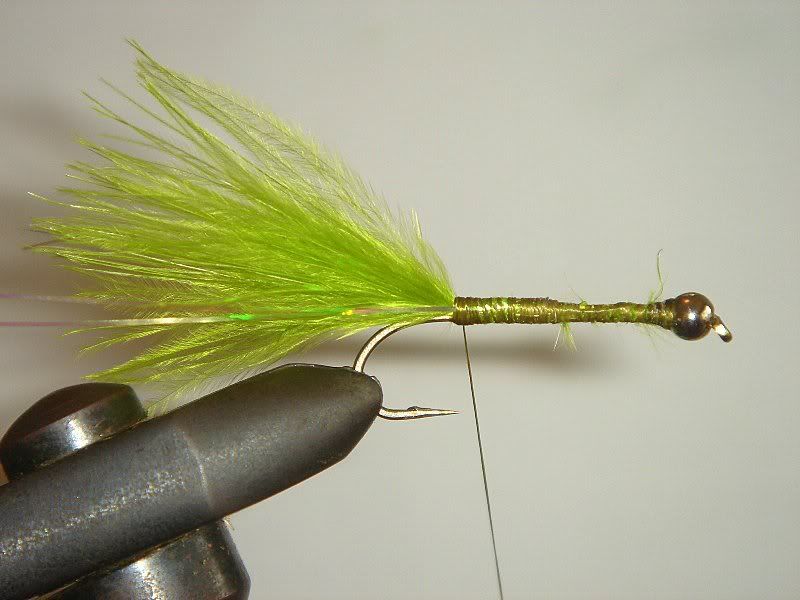
Variations of the pattern, notice the taper to which the body is trimmed and the unobstructed hook gape.
.....
......


 I am amazed at the excellent thought that you put into this pattern. I really enjoyed the useful tips and how you explained the reason for what you're doing.


Bookmarks